Have you ever gazed upon your old, worn wood floors and wished for a fresh, modern look without the hassle and expense of complete floor removal? The allure of a quick and budget-friendly solution often leads homeowners to consider laying laminate flooring directly over their existing wood. But is it truly a viable option? Can you simply slap down laminate over your trusty wood floors and call it a day? The answer, my friends, is not quite that simple.

Image: phenergandm.com
In this comprehensive guide, we’ll delve into the world of laminate flooring over wood, dissecting the pros, cons, and everything in between. We’ll explore the crucial considerations that determine feasibility, the potential pitfalls you might encounter, and essential tips for a successful installation. So let’s get down to business and answer the question: can you put laminate flooring over wood floors?
Understanding the Basics: Laminate Flooring and Wood Floors
Before diving into the complexities of installation, a quick refresher on laminate and wood floors is essential. Laminate flooring is a popular choice for its affordability, durability, and diverse range of styles mimicking natural materials like wood and stone. It comprises multiple layers, including a wear layer, a decorative layer, and a core layer for stability. Wood floors, on the other hand, are crafted from real wood planks, offering natural beauty, warmth, and timeless elegance.
The Crucial Questions: When Can You Put Laminate Flooring Over Wood Floors?
While it might seem like a straightforward task, laying laminate over wood floors involves a delicate dance of factors. Several key questions need careful consideration before you even begin thinking about the installation process:
1. The Condition of Your Wood Floors: The Foundation of Success
The state of your existing wood floors is paramount. A smooth, level surface is the foundation for a successful laminate installation. Uneven wood floors can lead to a wobbly laminate floor, uneven seams, and potential damage to the new flooring. Factors to assess include:
- Level: Measure the levelness of your wood floors using a level. Ideally, the difference in elevation across the entire space should be less than 1/4 inch.
- Gaps and Cracks: Significant gaps or cracks in the wood floor can be a problem. These can be filled with wood filler or epoxy resin, but if the damage is too extensive, replacing the problematic planks might be necessary.
- Loose or Squeaking Planks: Loose or squeaking planks can create unevenness and discomfort. Secure them using screws or nails, or consider replacing them.
- Moisture: Mold, mildew, or signs of moisture damage are major red flags. Treat the issue thoroughly before even considering laminate installation.

Image: www.knowingkrescent.com
2. The Thickness of Your Existing Wood Floor: Navigating the Overlay
The thickness of your existing wood floor is crucial. The combined thickness of the wood floor and the laminate flooring should not exceed the maximum height your doors can accommodate. You might need to trim the doorframes or raise the thresholds to allow for the added thickness. Consider these factors:
- Standard Wood Floor Thickness: Most hardwood floors are between 3/8 and 3/4 inch thick.
- Laminate Flooring Thickness: Laminate flooring generally ranges from 8 to 12 mm thick.
- Door Clearance: Measure the clearance between your door and the existing floor. The combined thickness of the wood floor and the laminate should fit within the remaining space.
3. The Underlying Subfloor: Building a Solid Base
The subfloor beneath your wood floors plays a critical role in ensuring the longevity and stability of your laminate flooring. It acts as the primary support for the entire structure. Inspecting your subfloor for any underlying issues is crucial:
- Solidity: If your subfloor is damaged, warped, or rotten, it needs to be addressed before installing laminate. This might involve replacing the damaged section or reinforcing it with plywood.
- Level: Similar to the existing wood floor, the subfloor must be level. You may need to use leveling compound to achieve a smooth surface.
The Pros and Cons: Weighing the Benefits and Risks
Now that you’ve assessed the foundation of your project, let’s weigh the pros and cons of laying laminate flooring over wood floors:
Pros:
- Cost-Effective: Installing laminate over existing wood floors can be significantly cheaper than replacing the whole system.
- Time-Saving: It can be a faster installation compared to removing and replacing the existing wood floors.
- Versatile Style: Laminate flooring offers a wide range of styles and colors, allowing you to achieve a desired aesthetic with ease.
Cons:
- Unevenness and Instability: A poorly prepared surface can lead to inconsistencies and instability in the laminate floor.
- Noise: The layered structure of laminate can create more noise with each footstep compared to wood floors.
- Limited Lifespan: While laminate flooring is durable, laying it over another surface can shorten its lifespan.
- Potential Damage: Any imperfections in the existing wood floor can translate into issues with the new laminate flooring, potentially leading to premature wear and tear.
The Crucial Steps: A Detailed Installation Guide
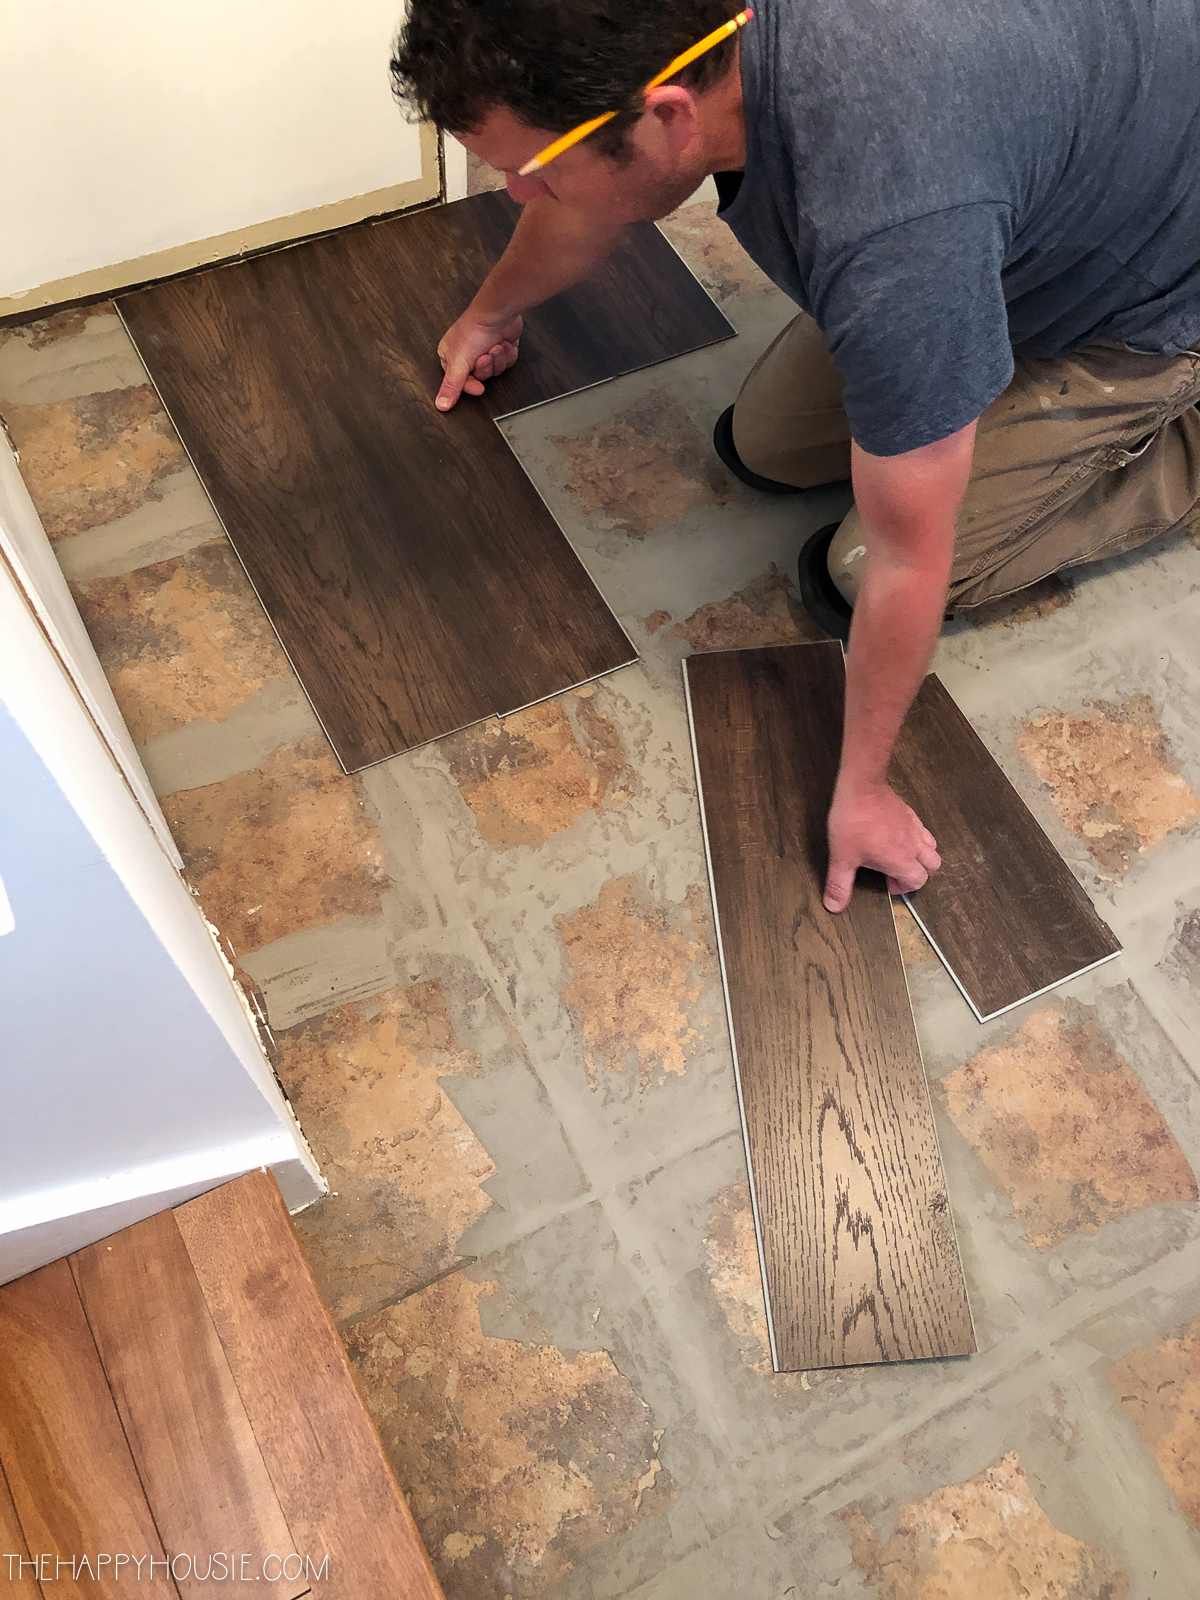
If you’ve decided to proceed with laying laminate flooring over your wood floors, a systematic approach is essential. Here’s an in-depth guide tailored to ensure a successful installation:
1. Preparation is Key: Laying the Foundation
Preparation is the most critical stage of the process. Proper preparation eliminates potential issues down the road and sets the stage for a flawless installation.
- Thorough Assessment: Inspect your wood floors for unevenness, gaps, cracks, loose planks, and signs of moisture damage. Address any deficiencies before proceeding.
- Surface Preparation: Sand down any rough patches on your wood floor to create a smooth surface. Remove any protruding nails or staples that could damage the laminate flooring.
- Moisture Barrier: Lay down a moisture barrier underneath the laminate if you have concerns about potential moisture issues. This will help protect the laminate from water damage.
- Underlayment: A good-quality underlayment adds cushioning and sound absorption. Choose underlayment specifically designed for laminate flooring, ensuring it’s compatible with your chosen product.
2. Acclimate and Measure: Setting the Stage
Before starting the actual installation, it’s essential to acclimate the laminate flooring to its surroundings.
- Acclimation: Allow the laminate boards to acclimate to the temperature and humidity of your room for at least 48 hours. This helps prevent warping and expansion after installation.
- Accurately Measure: Measure the space where you plan to install the laminate flooring. Factor in any existing baseboards or other obstructions.
3. The First Row: Setting the Foundation
The placement of the first row of laminate planks is critical for achieving a straight and level installation. It sets the tone for the entire layout.
- Starting Point: Choose a starting point for the first row. If possible, it’s best to begin in the corner of the room and work outwards.
- Spacing: Leave a small expansion gap between the first row of laminate and the wall. This allows for movement as the laminate expands and contracts with temperature changes.
- Tapping: Tap the laminate planks together using a tapping block and rubber mallet. Ensure a snug fit without over-tightening.
4. Laying the Subsequent Rows: A Symphony of Clicks
With the first row in place, continue installing the remaining planks.
- Click-Lock Mechanism: Most laminate floors use a click-lock system. This system allows the planks to interlock seamlessly for a secure and stable installation.
- Staggering the Joints: Stagger the end joints of each row to avoid a weak point in the floor. Think of it like building a brick wall, where the bricks are offset for strength.
- Cutting: Use a sharp utility knife, a circular saw, or a laminate flooring cutter to trim the planks for a perfect fit around obstacles and corners.
5. Finishing Touches: Completing the Picture
Once the last planks are installed, it’s time to finalize the project with a couple of meticulous steps.
- Trim and Transitions: Install transition strips or moldings to create a smooth transition from the laminate flooring to other flooring types or areas.
- Baseboards: Attach or reinstall baseboards along the perimeter of the room.
Common Challenges and How to Overcome Them
Even with careful planning and execution, you might encounter some challenges along the way. Here are some common hurdles and practical tips for overcoming them:
1. Unevenness and Gaps: Creating a Smooth Surface
Unevenness in the existing wood floor can cause gaps between the laminate planks to appear.
- Leveling Compound: For minor unevenness, use a leveling compound. It dries hard and evens the surface.
- Plywood Subfloor: In case of severe unevenness, it’s best to install a plywood subfloor over the existing wood floor to create a stable and level base.
2. Noise: Addressing Walking Sounds
Laminate flooring can amplify walking sounds, particularly if it’s laid over a wood floor.
- Sound Dampening Underlayment: Choosing a thick, sound-dampening underlayment will absorb noise and make the laminate floor quieter.
- Carpet Padding: If noise is a major concern, using carpet padding under the underlayment can provide additional sound absorption.
3. Moisture: Protecting Your Investment
Moisture can cause laminate flooring to warp, buckle, and even rot. To prevent this, it’s essential to ensure your existing wood floor isn’t excessively moist.
- Moisture Meter: Use a moisture meter to assess the moisture content of the wood floor before installation.
- Moisture Barrier: Employ a moisture barrier under the underlayment as a protective shield against potential moisture issues.
Can You Put Laminate Flooring Over Wood Floors
Closing Thoughts: Is Laying Laminate over Wood Floors Right for You?
The decision of whether to lay laminate flooring over wood floors is a personal one. Carefully weigh the pros and cons, consider the condition of your existing floors, and don’t be afraid to consult experienced professionals for advice. If you’re comfortable with the complexities and are prepared to tackle the challenges involved, this project can save you both time and money while bringing a fresh new look to your home. Regardless of your decision, remember to prioritize proper preparation and execution, ensuring a stable and aesthetically pleasing outcome.

:max_bytes(150000):strip_icc()/OrangeGloEverydayHardwoodFloorCleaner22oz-5a95a4dd04d1cf0037cbd59c.jpeg?w=740&resize=740,414&ssl=1)


