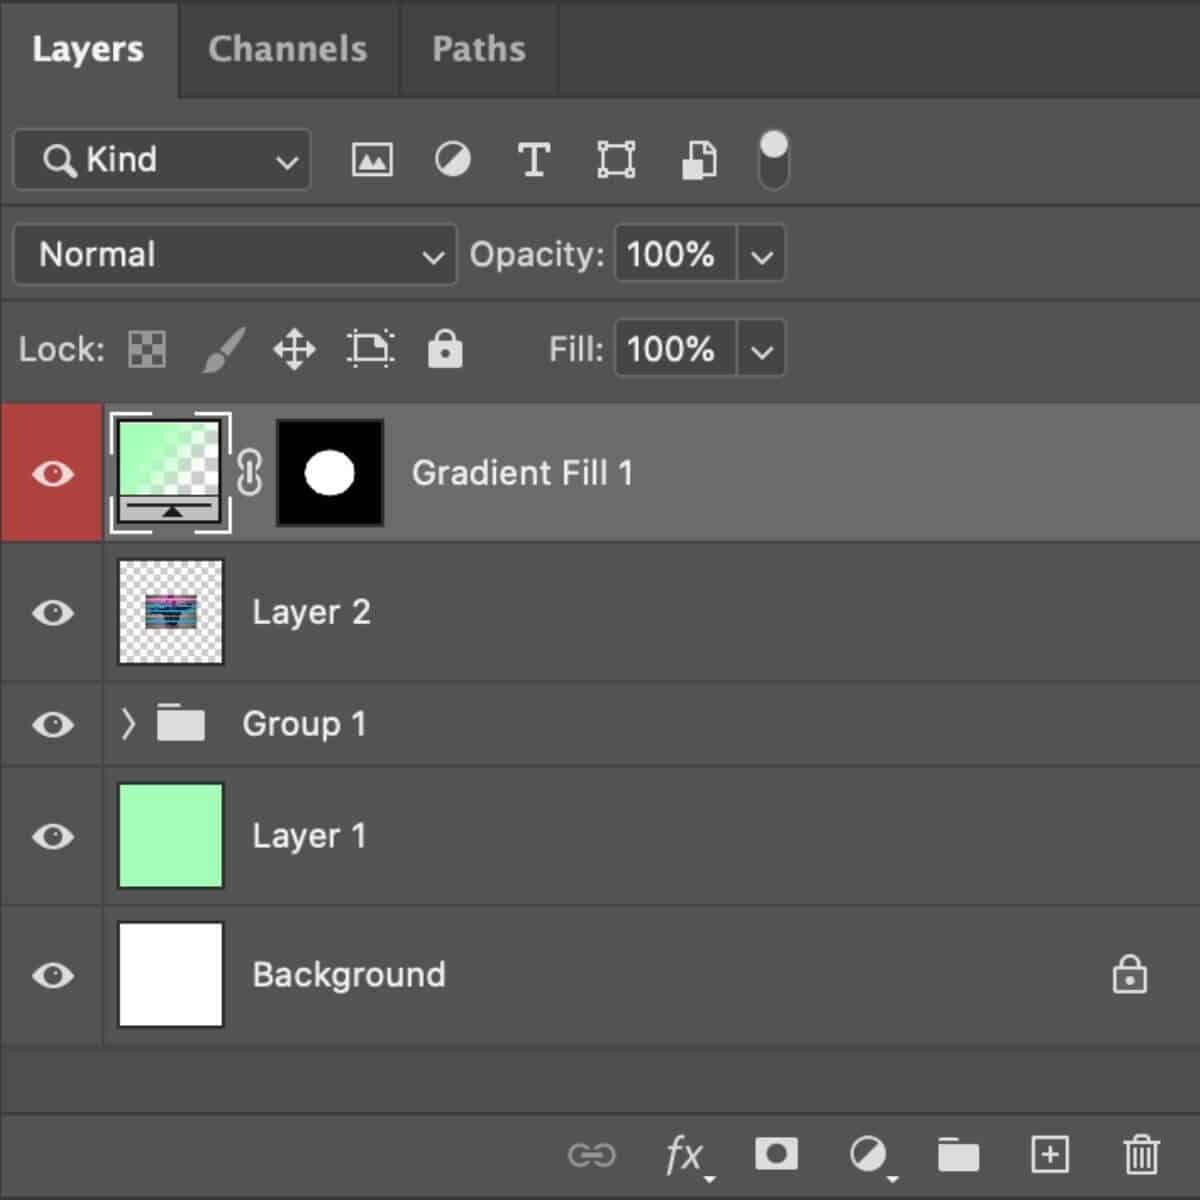
Remember the first time you opened Photoshop? It felt like stepping into a wondrous new world, filled with endless possibilities for creativity. But then, you encountered a block: how do you fill a layer with color? It’s a basic yet crucial technique that unlocks a whole new level of artistic expression in Photoshop. This guide will take you through the steps, making it clear as day, so you can confidently paint your digital dreams.

Image: www.oreilly.com
Imagine you’re crafting a vibrant poster for a music festival. You’ve got the perfect image, but it needs a pop of color. That’s where filling a layer comes in handy. You can infuse the background with a bold, eye-catching hue, setting the mood for your entire design. And that’s just one example! The ability to fill a layer with color is a fundamental skill for graphic designers, photo editors, and anyone who wants to unleash their artistic potential in Photoshop.
The Paint Bucket Tool: Your Color Companion
The Paint Bucket Tool is your go-to for filling a layer with color. It’s a simple but powerful tool that allows you to quickly and easily fill an area with a chosen color.
Here’s how it works:
- Select the Paint Bucket Tool: It’s usually found in the toolbox on the left side of your Photoshop window. You might have to click and hold on the “Eyedropper Tool” icon to reveal the full list of tools.
- Choose Your Color: In the “Color Picker” or “Swatches” panel, select the color you want to use.
- Click on the Area You Want to Fill: Simply click inside the area you want to fill with the selected color. This could be a closed shape, a path, or even a selected area on your image.
Important Notes:
- Tolerance: The Paint Bucket Tool has a “Tolerance” setting. A higher tolerance means the tool will fill areas that are similar to the clicked area, even if they’re not exactly the same color.
- Anti-Aliasing: Anti-aliasing smooths out the edges of your fill. You can adjust this setting in the “Options Bar” at the top of your Photoshop window.
- Contiguous: The “Contiguous” setting tells the Paint Bucket Tool to only fill areas that are touching the clicked point. If you want to fill disconnected areas, uncheck this setting.
Mastering the Fill Command: Flexibility at Your Fingertips
While the Paint Bucket Tool is great for quick fills, the “Fill” command offers even greater control and flexibility.
Follow these steps to wield the power of the Fill command:
- Select the Area You Want to Fill: Use the selection tools like “Lasso Tool,” “Marquee Tool,” or “Magic Wand Tool” to select the area you want to fill with color. You can also use a layer mask to isolate the area.
- Open the Fill Dialog Box: Go to “Edit” > “Fill…” or use the shortcut “Shift + F5” to open the “Fill” dialog box.
- Choose Your Fill Options: The “Fill” dialog box is packed with options:
- Use: Choose the source of your fill. You can use a color, a pattern, a gradient, or even the contents of another layer.
- Opacity: Adjust the transparency of your fill.
- Blend Mode: Control how your fill blends with the existing pixels.
- Preserve Transparency: If you’re working with a layer that has transparent areas, check this option to maintain those transparent areas.
Beyond the Basics: Exploring Advanced Fill Techniques
Now that you’ve mastered the fundamentals, let’s delve into some advanced techniques to truly unleash your creativity in Photoshop:
- Color Replacement: This technique allows you to change the color of a specific color within your image. Go to “Image” > “Adjustments” > “Color Replacement” to access this feature.
- Content-Aware Fill: This incredible tool uses Photoshop’s intelligence to seamlessly fill in areas with missing pixels. Go to “Edit” > “Content-Aware Fill” to try it out.
- Gradient Fill: Create stunning gradients by using the “Gradient Tool,” found in your toolbox. You can even create custom gradients using the “Gradient Editor.”
- Pattern Fill: Fill areas with repeating patterns, adding a unique texture to your images. Go to “Edit” > “Fill” and select “Pattern” from the “Use” options.

Image: tempatidola.blogspot.com
Expert Insights: Elevate Your Skills
Think of color as the language of your art. Like a skilled storyteller, you can use color to guide the viewer’s eye, convey emotion, and create visual interest in your designs.
- Color Harmony: Experiment with different color palettes using color wheels or online resources like Adobe Color.
- Contrast and Balance: Use color contrast to highlight key elements in your designs. Balance light and dark tones to create visual interest.
- Emotion and Mood: Warm colors (reds, oranges, yellows) evoke happiness, energy, and warmth. Cool colors (blues, greens, purples) create feelings of peace, tranquility, and calmness.
How To Fill A Layer With Color In Photoshop
https://youtube.com/watch?v=ZVs_cA_6LnM
The Final Brushstroke: Your Creative Journey Awaits
Mastering the art of filling a layer in Photoshop is like unlocking the key to a world of endless creative possibilities. You can now add splashes of color to your images, refine designs, and bring your visions to life.
Don’t be afraid to experiment, explore different tools and techniques, and let your imagination guide your journey. There’s a whole universe of colors waiting to be discovered within Photoshop. So go ahead, unleash your inner artist and explore the magic of color!

:max_bytes(150000):strip_icc()/OrangeGloEverydayHardwoodFloorCleaner22oz-5a95a4dd04d1cf0037cbd59c.jpeg?w=740&resize=740,414&ssl=1)


