Have you ever been startled by the sudden shriek of your floorboards as you walk across your home? It’s not just you – squeaky wood floors are a common frustration for homeowners. Beyond the irritating noise, they can also be a sign of underlying structural issues. But fear not, because a bit of knowledge and elbow grease can transform your creaky floor into a quiet haven. In this comprehensive guide, we’ll walk you through everything you need to know about fixing a squeaky wood floor, from pinpointing the source of the squeak to choosing the right tools and techniques.

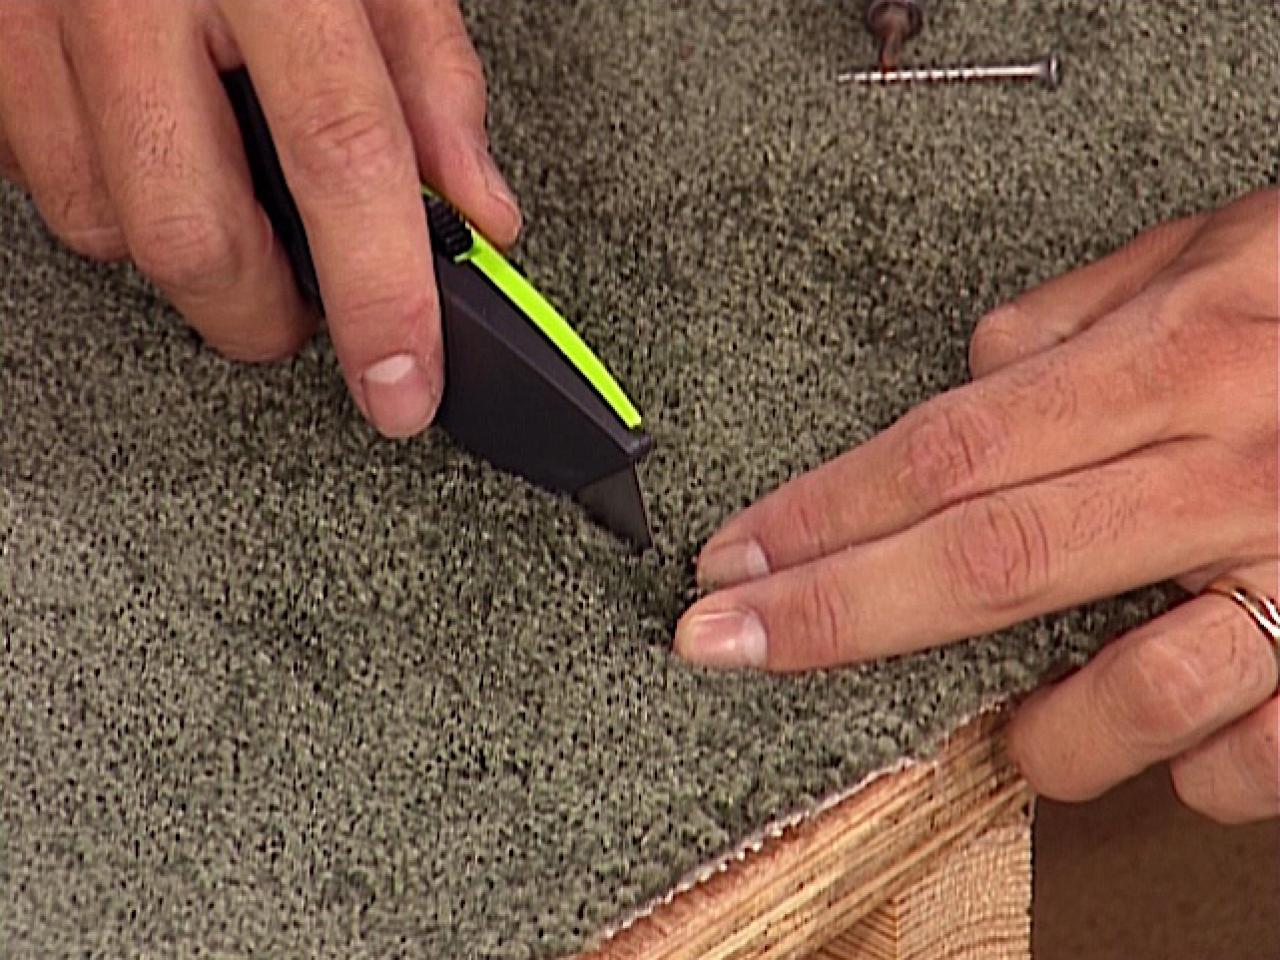
Image: www.diynetwork.com
Whether you’re a seasoned DIYer or a novice homeowner, understanding the mechanics of a squeaky floor is essential. These noises are typically caused by friction between wood components. As the floorboards shift or settle, they rub against each other, creating that familiar “creak.” This can happen in several areas, from the subfloor to the joists to the floorboards themselves.
Understanding the Squeak: Identifying the Cause
Before diving into repairs, the first step is to understand what’s causing the squeaks. This detective work will help you choose the most effective solution. Here are some common culprits:
1. Nails and Screws:
Over time, nails and screws holding the floorboards to the joists can loosen, creating friction points. This is often the case in older homes.
2. Loose Subfloor:
If the subfloor (the layer of plywood beneath the finished flooring) isn’t properly attached to the joists, it can shift and create squeaks.

Image: jjvs.org
3. Gaps Between Floorboards:
As wood expands and contracts with changes in temperature and humidity, gaps can appear between floorboards, leading to rubbing and squeaking.
4. Insufficient Support:
If the joists themselves are undersized or spaced too far apart, the floor can sag, causing boards to rub together.
The Tools of the Trade: A Squeaky Floor Toolkit
Once you’ve identified the source of the problem, you’ll need the right tools for the job. Here’s a basic toolkit:
- Screwdriver (Phillips and flathead)
- Hammer
- Wood shims (various sizes)
- Wood glue
- Level
- Tape measure
- Safety glasses
- Knee pads (optional)
- Shop vacuum
Repair Strategies: From Nail Guns to Silent Squeaks
Now, let’s move on to the actual repair process. Here are the most common methods for silencing a squeaky floor, along with step-by-step instructions:
1. Reinforcing Loose Floorboards:
This method involves tightening existing fasteners or adding new screws to secure the floorboards. Here’s how:
- Locate the squeaky spot: Walk around the floor, identifying the exact areas where the squeak occurs.
- Mark the spot: Use a pencil or marker to mark the spot on the surface of the floorboard.
- Drill pilot holes: Using a drill with a drill bit slightly smaller than the screw size, drill pilot holes through the floorboard and into the joist. This prevents splitting the wood.
- Drive in screws: Securely drive screws into the pilot holes, aiming for the center of the joist. Use a screw that’s long enough to penetrate at least an inch into the joist.
- Cover screw heads: Use wood filler or spackle to fill any holes or gaps around the screw heads, and smooth them out with sandpaper.
2. Shimming Beneath Floorboards:
This technique is useful for fixing floorboards that are loose or have gaps between them.
- Find the gap: Identify the gap between the floorboard and the joist.
- Choose the right shim: Select a shim that’s slightly smaller than the gap.
- Insert the shim: Use a hammer to gently tap the shim into the gap, making sure it’s flush with the floorboard.
- Secure with screws: Screw the floorboard down to the shim and joist with a couple of screws.
3. Filling Gaps Between Floorboards:
This method is suitable for gaps that cause squeaking due to rubbing. You can use a wood filler or a specialized caulking compound.
- Clean the gap: Use a vacuum cleaner or a brush to remove sawdust or debris from the gap.
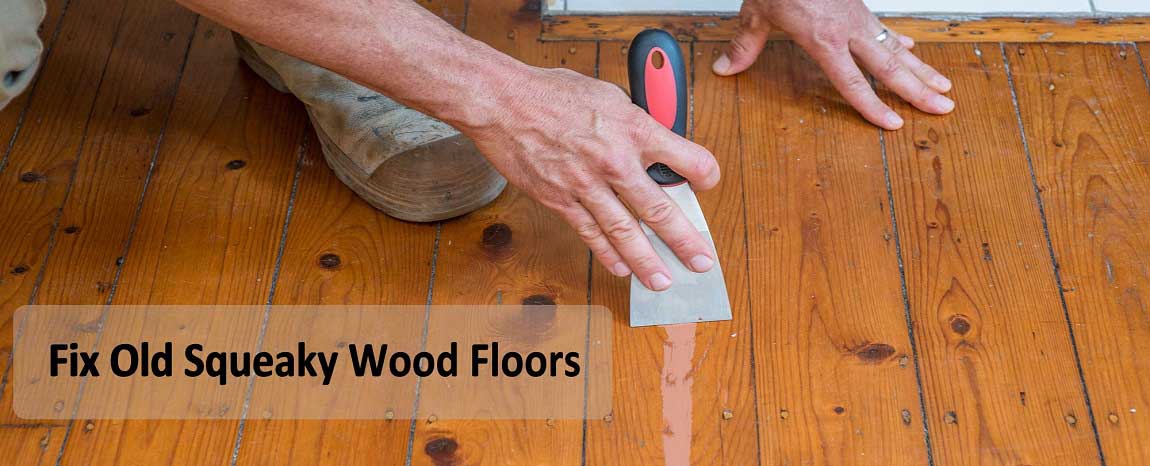
- Apply the filler: Apply wood filler or caulking compound to the gap, making sure to press it firmly into the space.
- Smooth the filler: Use a putty knife or your finger to smooth out the filler, ensuring it’s flush with the floorboard.
- Allow to dry: Let the filler dry completely before sanding it smooth.
Going the Extra Mile: Advanced Repair Techniques
For more severe squeaks or extensive floor repairs, there are advanced techniques you can consider.
1. Refastening Subfloor:
If the subfloor is loose, the solution involves adding fasteners to secure it to the joists. This is a slightly more involved process that requires lifting up sections of the floor.
2. Installing New Joists:
In extreme cases, where joists are undersized or spaced too far apart, it may be necessary to install additional joists for support. This is a major project that should be left to a qualified contractor.
Taking a Preventive Approach: Looking Ahead
While fixing squeaky floors is a priority, it’s also essential to consider preventative measures. Here are some tips to keep your floors quiet for longer:
- Regular Inspections: Periodically inspect your floors for signs of looseness or gaps. Catching these issues early on can prevent bigger problems.
- Proper Flooring Maintenance: Follow manufacturer’s recommendations for cleaning and maintenance of your wood floors. This can help prevent premature wear and tear.
- Climate Control: Maintain consistent humidity levels within your home to minimize expansion and contraction of wood, reducing the chance of gaps forming.
How To Fix A Squeaky Wood Floor
From Squeaks to Serenity: Your Quiet Floor Awaits
Fixing a squeaky wood floor can be a satisfying DIY project. By understanding the root cause and taking the right steps, you can finally silence those irritating noises and enjoy a smoother, quieter home. Remember, prevention is key, so keep an eye on your floors and address issues early on. With a little effort, you can turn those pesky squeaks into a thing of the past.

:max_bytes(150000):strip_icc()/OrangeGloEverydayHardwoodFloorCleaner22oz-5a95a4dd04d1cf0037cbd59c.jpeg?w=740&resize=740,414&ssl=1)


