I remember the day I finally finished tiling my kitchen floor. I was so proud of myself, and I couldn’t wait to see the finished product. But then I hit a snag: the grout. I had no idea how to apply it properly, and I was afraid of making a mess. Luckily, I found a helpful guide online that walked me through the process step-by-step. Now, I’m happy to share that same knowledge with you so you don’t have to go through the same struggle.

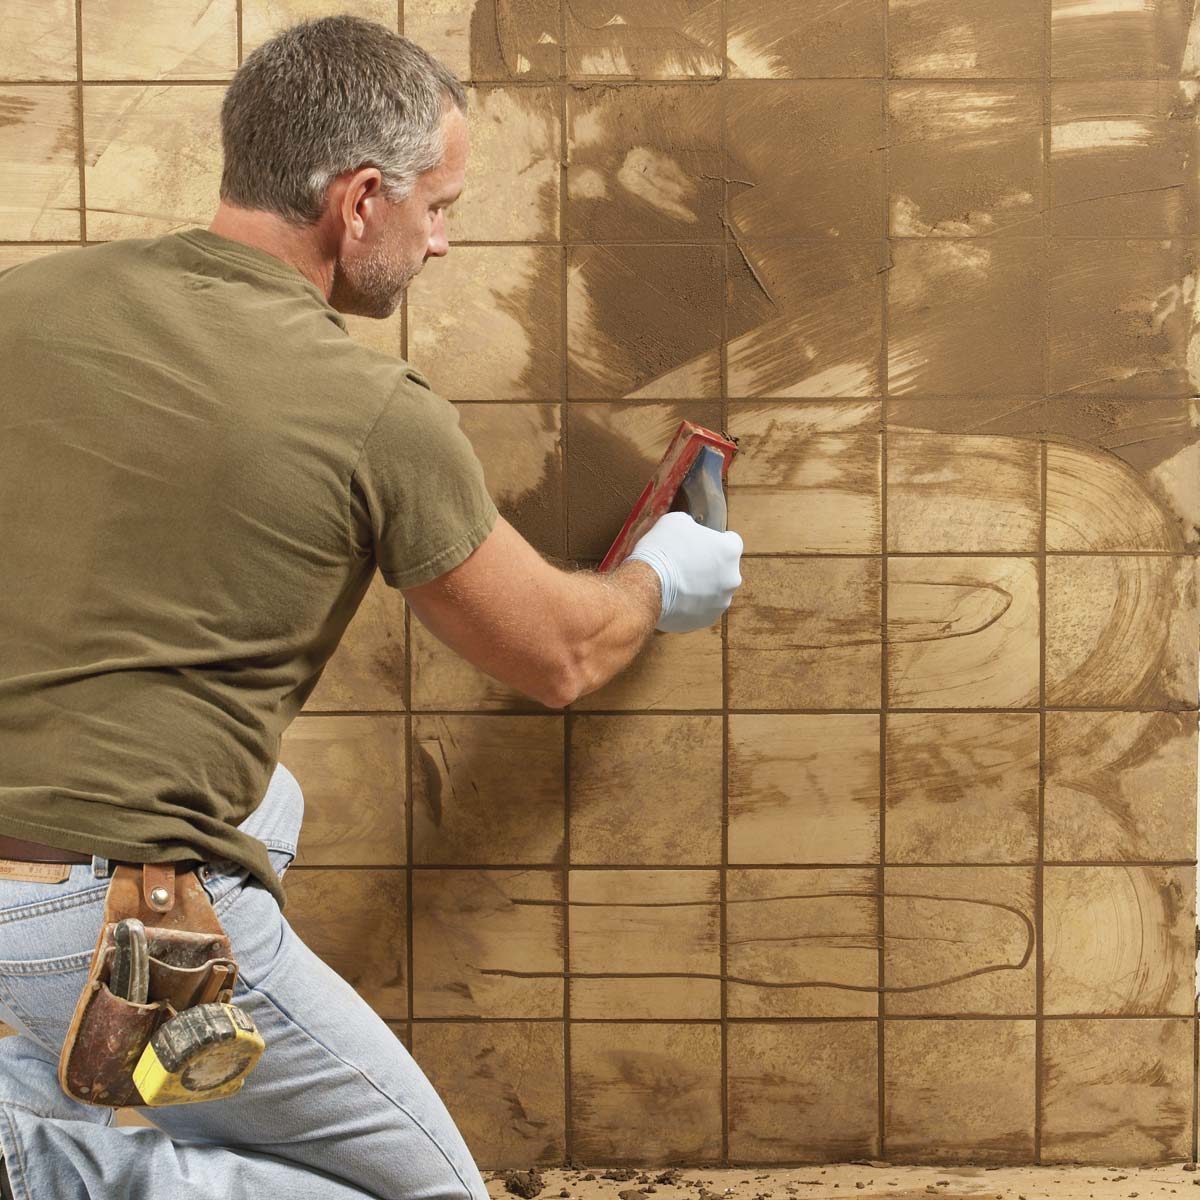
Image: www.familyhandyman.com
Grouting is an essential part of the tile installation process. It not only adds a clean finish to your floor, but it also helps to keep your tiles in place and prevents water from seeping into the subfloor. It may seem daunting at first, but with the right tools and techniques, applying grout can be a manageable project.
Understanding Grout
Grout is a paste-like material that fills the gaps between tiles, creating a cohesive and water-resistant surface. It’s typically made from a mixture of cement, sand, and water. There are many different types of grout available, each with its own properties and applications.
Epoxy grout is known for its durability and stain resistance, making it ideal for high-traffic areas and wet environments like showers. Sanded grout, on the other hand, is more affordable and easier to work with, but it’s not as durable as epoxy grout and should be avoided for smaller tile spaces.
Choosing the Right Grout
When selecting grout, consider the following factors:
- Tile size: For larger tiles, use sanded grout. For smaller tiles, use unsanded grout to prevent the sand from clogging the gaps.
- Tile material: Certain grout types work best with specific tile materials. Consult the manufacturer’s instructions on the tile packaging.
- Traffic level: For high-traffic areas, opt for a stronger, more stain-resistant grout like epoxy.
- Color: Grout comes in a wide range of colors. Consider the overall design of your space when choosing a color. You can use contrasting colors to highlight the tiles, or match the grout to the tile for a seamless look.
Tools You’ll Need to Apply Grout
Before you start, gather the following tools:
- Grout float: This tool helps spread the grout evenly across the tiles.
- Bucket: For mixing the grout.
- Grout sponge: For cleaning excess grout and smoothing the surface.
- Grout sealant: To protect the grout from dirt and stains.
- Knee pads: To make kneeling more comfortable.
- Gloves: To protect your hands from the grout.
- Safety goggles: To protect your eyes from grout dust.

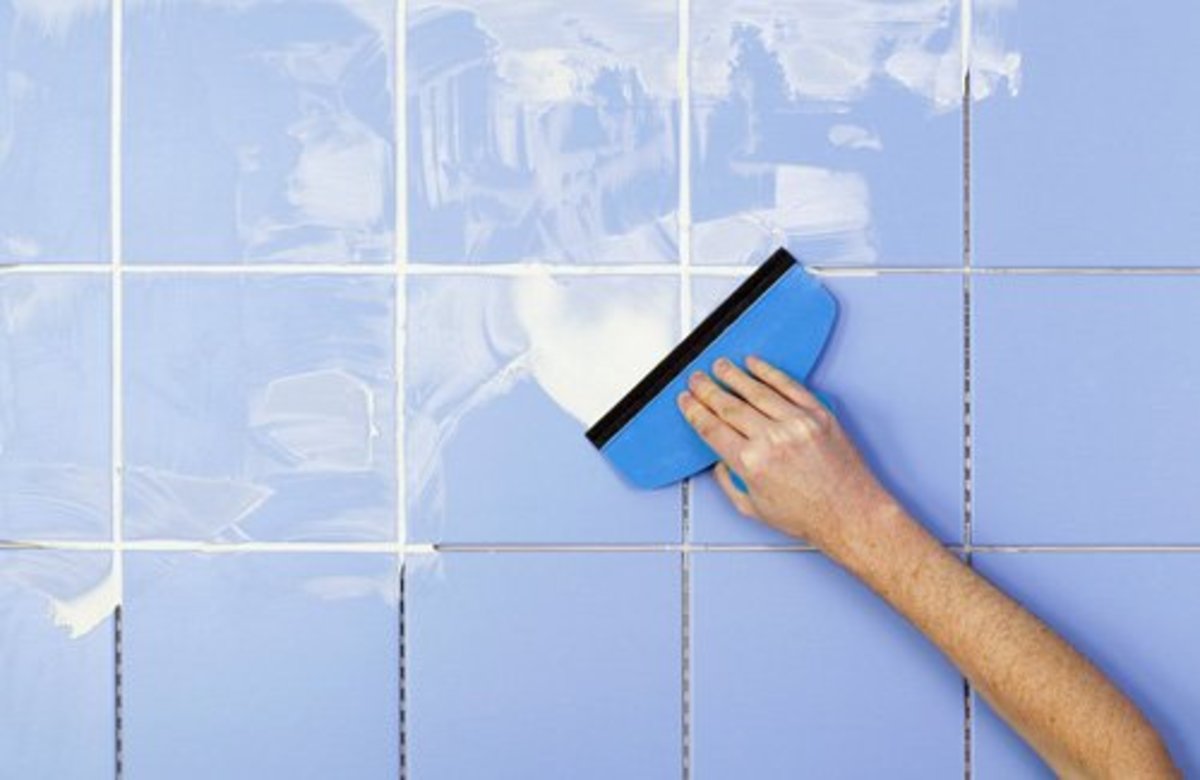
Image: bertena.com
Applying Grout: A Step-by-Step Guide
Now, let’s dive into the actual process of applying grout:
Step 1: Prepare the Floor
Start by thoroughly cleaning the tile surface. Remove any debris, dust, or leftover mortar with a damp cloth or sponge. Make sure the tiles are completely dry before proceeding.
Step 2: Mix the Grout
Follow the manufacturer’s instructions for mixing the grout. It’s crucial to mix it to the correct consistency. The grout should be thick enough to hold its shape but thin enough to flow into the gaps between the tiles.
Step 3: Apply the Grout
Holding the grout float at a 45-degree angle, apply grout to the joints between the tiles. Pack the grout firmly into the spaces, ensuring no voids remain. Work in small sections to avoid the grout drying before you can clean it off.
Step 4: Clean Excess Grout
Once the grout has set slightly, use the grout sponge to clean excess grout from the tile surface. Wipe in a diagonal motion, working in small sections. Be thorough, as any leftover grout will be difficult to remove once it has hardened.
Step 5: Smooth the Surface
After cleaning off the excess grout, use the sponge to lightly smooth the surface of the grout lines. This helps to create a uniform finish and prevents the grout from cracking.
Step 6: Let the Grout Dry
Allow the grout to dry completely. This can take several hours, especially for epoxy grout. Follow the manufacturer’s instructions for the recommended drying time.
Step 7: Seal the Grout
Once the grout is completely dry, apply a grout sealant. This helps to protect the grout from dirt, stains, and moisture. Again, follow the manufacturer’s instructions for application and drying time.
Tips and Expert Advice
Here are some additional tips from my experience to help you get the best results:
- Use a damp sponge, not a wet one: A wet sponge will dilute the grout and make it harder to work with.
- Don’t overdo it with the cleaning: Too much cleaning can remove too much grout, leaving gaps exposed.
- Work in small sections: This allows you to clean the grout before it dries and prevents uneven grout application.
- Don’t leave your tools until the end: Clean your grout float and sponge immediately after use to prevent the grout from hardening on them.
Remember, patience is key when working with grout. Don’t rush the process, and take your time to ensure the best possible results. With careful attention to detail, you can achieve a professional-looking grout finish that enhances the overall beauty of your tiled floor.
Frequently Asked Questions
Q: How often should I seal my grout?
A: Most grout sealants last for 2-5 years. You should re-seal your grout as needed, depending on the amount of foot traffic and moisture exposure. Look for signs like water staining or discoloration.
Q: What if I see some gaps in the grout?
A: You can use a grout pen or a grout pencil to fill in any small gaps or imperfections in the grout lines.
Q: What can I do if the grout is discolored?
A: If your grout is discolored, you can try cleaning it with a commercial grout cleaner. If the discoloration is severe, you may need to replace the grout.
How To Apply Grout To Floor Tile
https://youtube.com/watch?v=JZjuv_KEDL0
Conclusion
Applying grout to floor tiles is an essential step in creating a beautiful and durable finished floor. By understanding the different types of grout, preparing your space properly, and following the step-by-step guide above, you can successfully apply grout on your own. Remember to clean your tools regularly, work in sections, and take your time for the best results.
Are you ready to tackle your own tiling project? Do you have any questions? Share your thoughts in the comments below!

:max_bytes(150000):strip_icc()/OrangeGloEverydayHardwoodFloorCleaner22oz-5a95a4dd04d1cf0037cbd59c.jpeg?w=740&resize=740,414&ssl=1)


