Have you ever stared at your outdated bathroom floor, longing for a fresh, modern look? Maybe you’re dreaming of a beautiful mosaic pattern or elegant marble tiles. Whatever your vision, laying tile in your bathroom floor can transform the space and add value to your home. But where do you begin? The process might seem daunting, but it’s a DIY project that’s within reach, even for a novice.

Image: phenergandm.com
This comprehensive guide will walk you through every step, from preparation to finishing touches. We’ll delve into essential tools, materials, and techniques, breaking down each phase into manageable tasks. By the end, you’ll be equipped with the knowledge and confidence to lay your dream tile floor and enjoy the satisfaction of a job well done.
1. Getting Ready: Preparation is Key
Before you start laying a single tile, thorough preparation is crucial. It’s like building a foundation for a house – a strong start ensures a beautiful, lasting finish. Here’s what you need to do:
1.1 Assess Your Floor and Gather Supplies
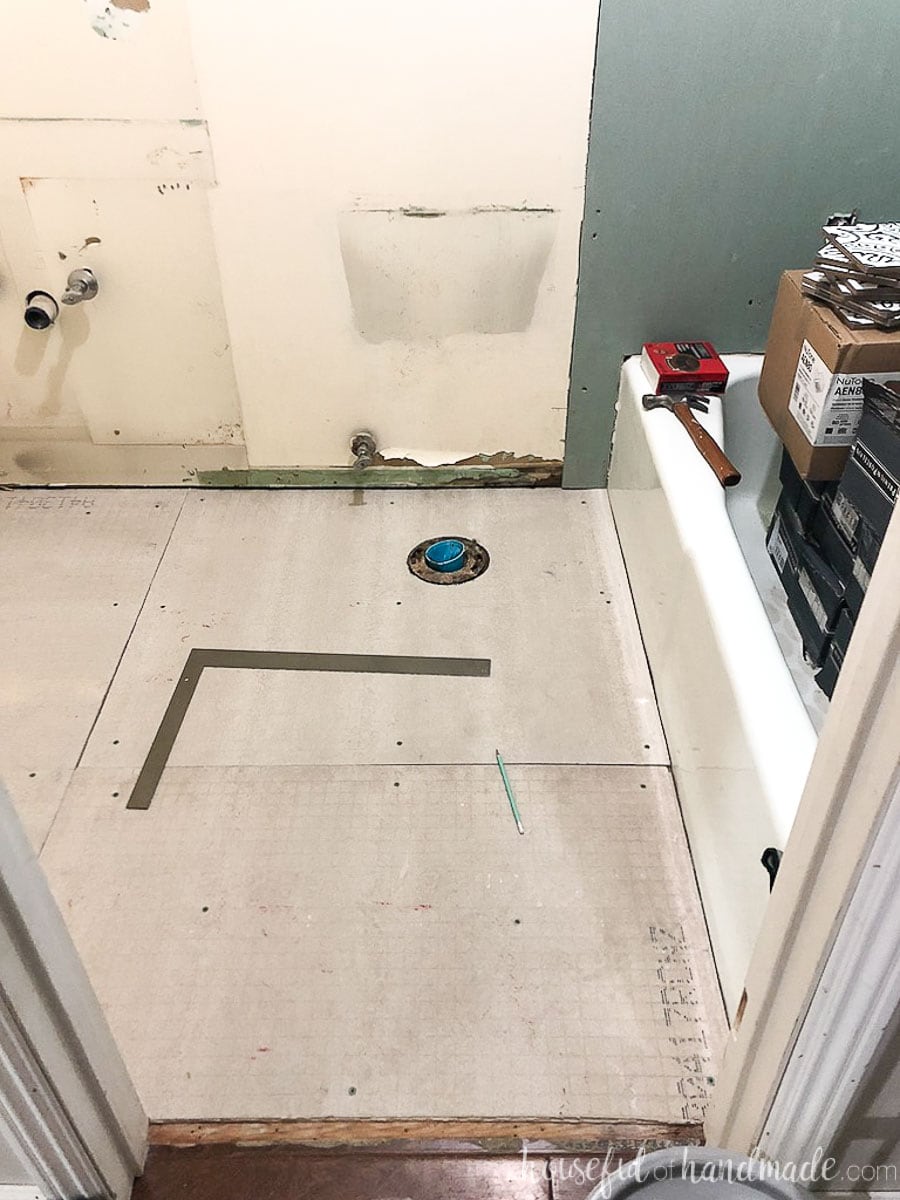
Take a critical look at your existing floor. Is it level? Are there any cracks or loose areas? If so, these need to be addressed before you begin. You’ll need to remove any existing flooring, such as vinyl, carpet, or wood. Be sure to check for any existing moisture issues, as it’s essential to have a dry and stable subfloor.
Once your subfloor is ready, gather your essential tools:
- Measuring tape
- Level
- Pencil
- Tile cutter or wet saw
- Notched trowel
- Rubber mallet
- Bucket
- Grout float
- Sponge
1.2 Choose the Right Tile
The heart of your bathroom floor project lies in the tile selection. Consider factors like:
- Durability: Choose tiles that can withstand high foot traffic, moisture, and potential spills.
- Water resistance: Porcelain and ceramic tiles are excellent options for bathroom floors because they’re very water-resistant and durable.
- Look and Feel: Choose a style that complements your existing décor and suits your taste.
- Size and Shape: Larger tiles make a space feel bigger, while smaller tiles provide a more traditional look. Experiment with different shapes like squares, rectangles, or mosaics for a unique touch.

Image: unixproperty.blogspot.com
1.3 Determine the Laying Pattern
Before you start laying tiles, decide on a pattern. Popular options include:
- Running bond: This classic pattern involves staggered rows with horizontal offsets.
- Stack bond: This pattern features tiles installed in straight lines, creating a clean and modern look.
- Herringbone: This pattern creates a visually dynamic design with tiles arranged in alternating V-shapes.
- Basketweave: This pattern resembles woven baskets with tiles arranged in rectangular clusters.
2. Setting the Stage: The Mortar and Thinner
Now, we’re ready for the ‘foundation’ of your tile floor. Mortar is the glue that holds your tiles together. But before you start mixing, it’s essential to have the right subfloor preparation:
2.1 Leveling the Subfloor
A level subfloor is essential for a smooth, professional-looking tile installation. If your subfloor is uneven, you’ll need to use a self-leveling compound. This compound is available in pre-mixed or powdered form and helps create a smooth, even surface for laying tiles.
2.2 Applying the Mortar
With the subfloor prepped and level, it’s time to apply the mortar, the adhesive that bonds your tiles to the subfloor. Here’s a breakdown of the process:
- Mix the mortar: Follow the manufacturer’s instructions for mixing the mortar with water.
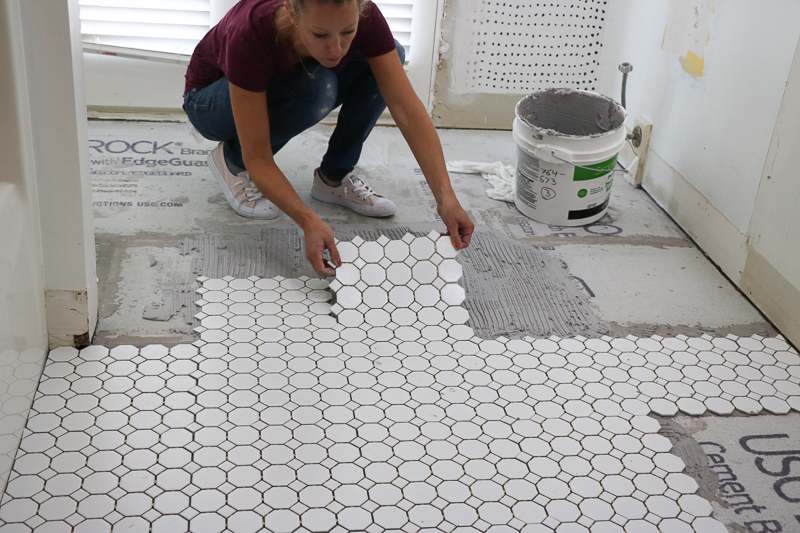
- Apply the mortar: Use the notched trowel to spread a thin layer of mortar onto the subfloor. Make sure to cover enough area for a few tiles at a time.
- Create ridges: The notched trowel creates ridges in the mortar, which helps the tile adhere securely and ensures proper drainage.
3. Laying the Tiles: Patience and Precision
Laying tiles is a delicate dance of precision and patience. Take your time, and you’ll achieve a beautiful, lasting result. Pay attention to these key points:
3.1 Starting in the Center
Begin by laying your first tile in the center of the room. This allows you to work your way outwards, ensuring that any necessary cuts will be placed at the edges.
3.2 Spacing and Alignment
As you lay each tile, maintain a consistent spacing between them. You can use spacers to ensure even gaps between the tiles. Use a level to check that each tile is placed horizontally and vertically, ensuring a level and straight installation.
3.3 Cutting Tiles
You’ll likely need to cut some tiles to fit around corners, pipes, or other features in your bathroom. Use a tile cutter or wet saw, following the manufacturer’s instructions for safe and precise cuts.
3.4 Ensuring Stability
After you’ve placed a tile, lightly tap it with a rubber mallet to ensure it adheres to the mortar and sits firmly. Be careful not to apply excessive force that could crack the tile.
4. Grouting: Sealing the Gaps
Once all the tiles are laid and the mortar has set, it’s time to grout. Grout fills the gaps between the tiles, creating a smooth, watertight finish, and adds a touch of style.
4.1 Choosing Grout
Grout comes in a variety of colors, allowing you to create a contrasting or complementary look. Choose a grout color that complements your tile color and overall bathroom style.
4.2 Applying Grout
Use a grout float to apply the grout to the gaps between tiles, pushing it into the spaces. Work slowly and ensure you fill all the gaps. Remove any excess grout using the grout float or a wet sponge.
4.3 Cleaning Up
After you’ve allowed the grout to set for a few hours, it’s time for a final clean-up. A damp sponge is the best tool for removing any remaining grout from the tile surfaces. Be meticulous and ensure all grout residue is removed.
5. The Final Touches: Sealing and Finishing
The final stage involves sealing the grout and adding any additional touches to create a beautiful, long-lasting finish.
5.1 Sealing the Grout
To protect the grout from stains and moisture, apply a grout sealer. This step is especially important in high-traffic areas like bathrooms. Follow the manufacturer’s instructions carefully for application and drying time.
5.2 Finishing Touches
With the grout sealed and completely dry, you can add the final touches. This might involve applying trim around the edges of the tile, adding decorative accents, or installing a shower door.
6. Maintenance and Care: Keeping Your Tile Floor Pristine
A little maintenance goes a long way in keeping your newly tiled bathroom floor looking its best. Here are some tips:
- Sweep or vacuum regularly: This removes loose dirt and debris before it can scratch the tile
- Clean with a mild detergent: Avoid abrasive cleaners that can damage the tile or grout.
- Dry the floor: Always dry the floor after cleaning to prevent mildew and mold growth.
- Reseal grout as needed: Re-apply grout sealer periodically to maintain its protective barrier.
How To Lay Tile In Bathroom Floor
https://youtube.com/watch?v=S1frQdYeLuc
Conclusion: A New Bathroom Floor, A New Perspective
Laying tile in a bathroom floor is a rewarding experience. It adds a touch of elegance and functionality, transforming your space. The process might seem intimidating at first, but with meticulous planning, preparation, and attention to detail, you can successfully create a beautiful and durable tile installation that you’ll enjoy for years to come. So, roll up your sleeves, gather your tools, and let your creativity take shape! You’ve got this!

:max_bytes(150000):strip_icc()/OrangeGloEverydayHardwoodFloorCleaner22oz-5a95a4dd04d1cf0037cbd59c.jpeg?w=740&resize=740,414&ssl=1)


