Ever stared at your tiny bathroom, dreaming of a sleek, modern floor that amplifies the space? Tiling is a fantastic way to transform your bathroom, adding both style and durability. But what if your bathroom isn’t exactly spacious? Fear not! With the right approach, tiling a small bathroom floor can become a rewarding DIY project, turning a cramped space into a haven of serenity.

Image: www.stkittsvilla.com
This guide is your companion on that journey, breaking down the process step-by-step, from preparation to finishing touches. We’ll demystify the intricacies of calculating tile quantities, choosing the perfect tile size, and ensuring a polished, professional finish. Let’s dive into the world of small bathroom tiling, transforming your space and your DIY skills in the process.
Preparation is Key
1. Planning & Measuring: A Foundation for Success
Before picking up a single tile, meticulous planning is paramount. Begin by meticulously measuring the bathroom floor, taking into account any obstacles like toilets, vanities, or showers. Measure the length and width of each section of the floor, documenting these measurements carefully. Consider measuring twice and cutting once to ensure accuracy.
2. Choosing the Right Tile: Size Matters
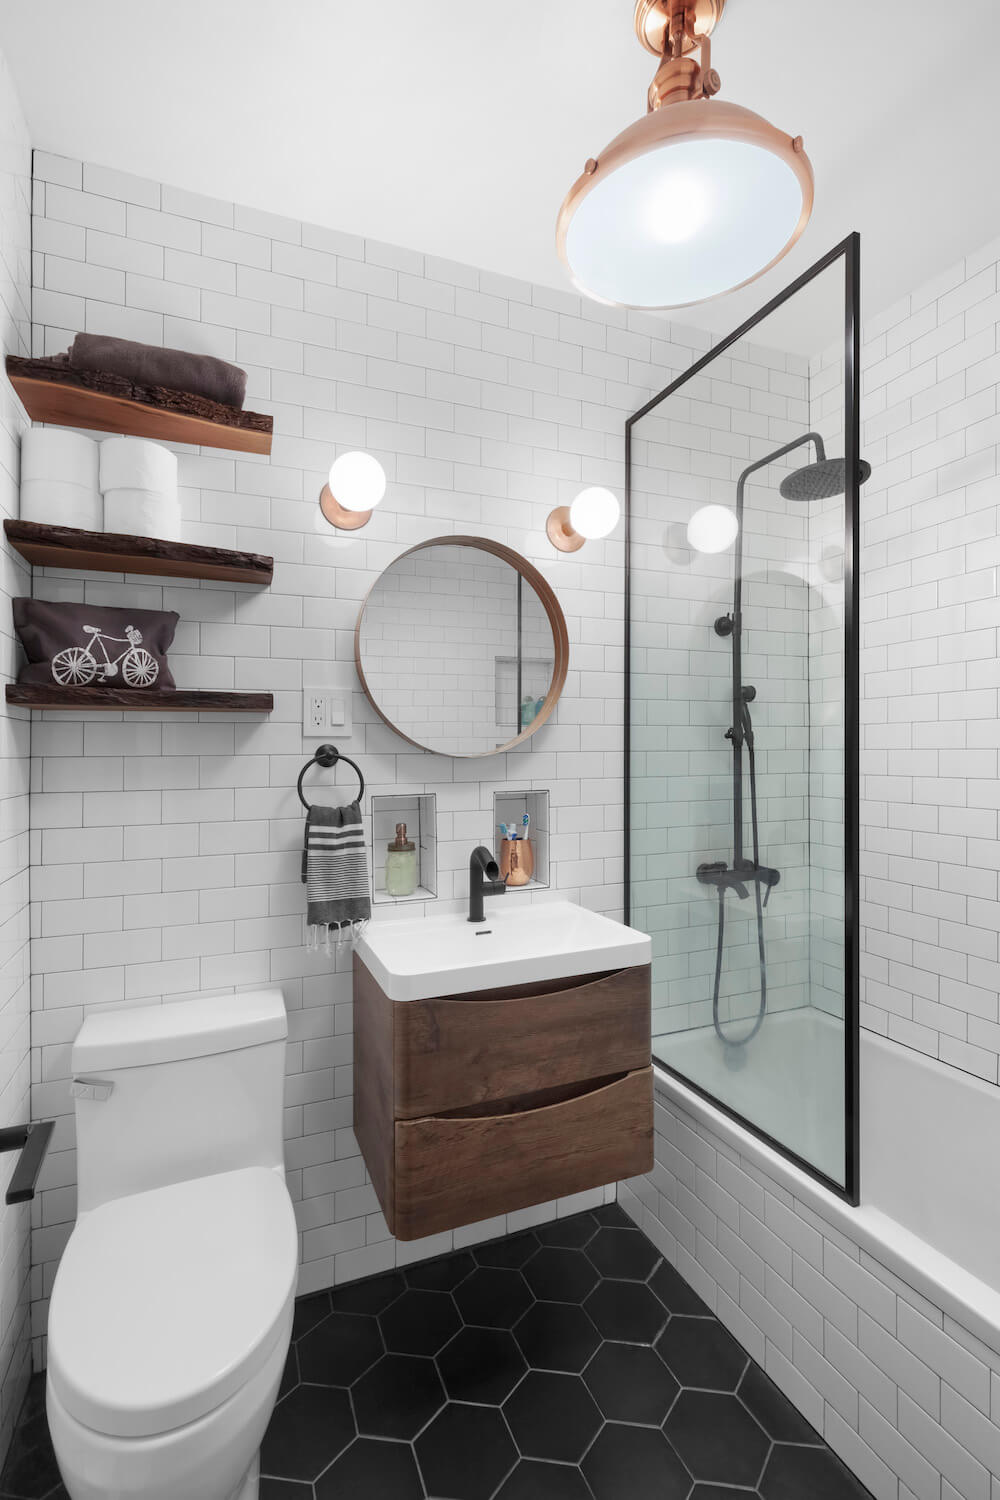
When it comes to small spaces, tile selection plays a crucial role in creating an illusion of larger dimensions. Opt for tiles that complement the overall aesthetic, but steer clear of patterns or textures that might make the floor feel busier. Larger tiles are generally preferred in smaller bathrooms, creating less visual clutter and making the space appear more expansive. However, be aware that large tiles might require more intricate cuts, demanding precision and a steady hand.

Image: www.vrogue.co
3. Material Gatherings: Assembling Your Arsenal
Once you’ve decided on your tile choice, ensure you have the complete toolkit for the task ahead. This includes:
- Tile and mortar for the floor and backsplash
- Grout in a contrasting or complementary shade
- Tile spacers
- A tile cutter or wet saw (for more intricate cuts)
- A trowel
- A level
- A rubber mallet
- A bucket and sponge
- Safety gear: gloves, goggles, and a dust mask
Getting Started: A Layered Approach
4. Prepping the Surface: A Clean Slate
Achieving a flawless tile installation starts with a clean and even foundation. Begin by carefully removing the existing floor covering, ensuring all loose particles and debris are cleared from the surface. Next, assess the condition of the subfloor. If any imperfections exist, such as cracks or gaps, address them with appropriate patching materials. For a smooth and level surface, consider using a self-leveling compound.
5. Laying Down the Foundation: Building a Stable Base
Now, it’s time to create the foundation for your tile masterpiece. Apply a thin layer of mortar using a notched trowel, covering the entire floor area. Ensure a smooth, even layer, preventing any uneven spots that could impact the final tiling result.
6. Setting the First Tile: Establishing the Baseline
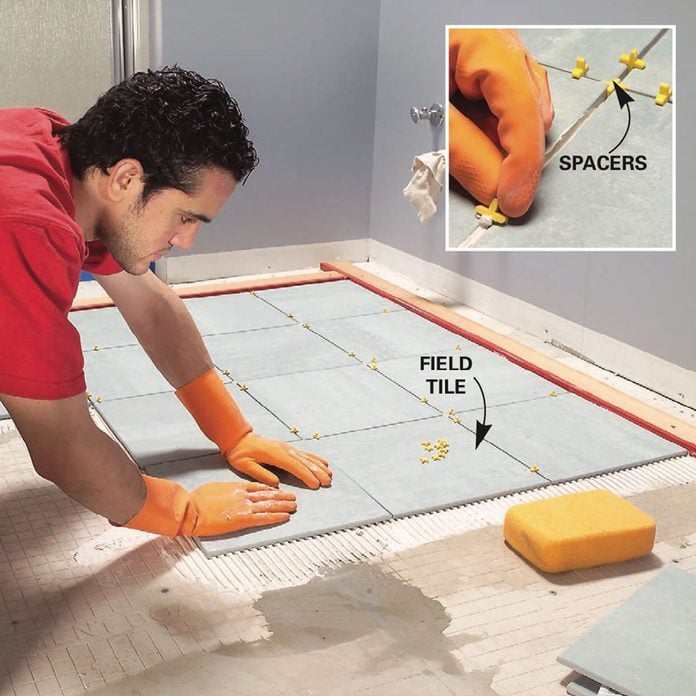
Start by strategically placing your first tile in the center of the room or at a corner, aligning it with a level. Use spacers to maintain consistent spacing between tiles, creating a clean, uniform layout. Carefully tap the tile to ensure it sits securely on the mortar layer. Avoid over-tightening, which could compromise the tile’s integrity.
Tiling, Grouting, and Finishing Touches: A Masterful Trio
7. Installing the Tiles: Precision and Patience
Continue laying tiles around the first tile, maintaining a consistent spacing and level using spacers and the level. Remember, this is a process, not a race. Take your time, adjust each tile for level, and don’t be afraid to use a rubber mallet to firmly but gently secure them.
8. Cutting Tiles: Shaping the Edges
As you reach the edges of the floor, walls, and obstacles, you’ll need to cut tiles precisely for a seamless look. This is where your tile cutter or wet saw comes into play. If you’re using a tile cutter, score the tile with precision, create a clean cut, and then use the cutter to snap it along the score line. A wet saw, while more sophisticated, provides a smoother, more accurate cut, especially for complex shapes.
9. Grouting: Adding Color and Character
After the mortar has cured, it’s time to grout, filling the gaps between tiles and adding a final touch of elegance. Choose a grout color that complements your tile selection, either contrasting for a bold statement or blending for a subtle effect. Apply the grout evenly, using a rubber float to press it firmly into the gaps. Let the grout dry thoroughly, then wipe away excess grout, taking care to avoid smudges on the tile surface.
Finishing Touches: Adding the Final Polishment
10. Cleaning and Sealing: Protecting Your Investment
Once the grout has completely set (usually 24-48 hours), thoroughly clean your tiles and grout with a damp sponge, removing any remaining grout residue. For a protective layer that enhances the tiles’ durability, consider applying a tile sealant. The sealant creates a barrier against stains, moisture, and scratches, extending the lifespan of your beautiful bathroom floor.
How To Tile A Small Bathroom Floor
https://youtube.com/watch?v=sm5pdUJRIJw
Final Thoughts: A Flawless Transformation
From meticulous planning to the final cleaning, tiling a small bathroom floor is a satisfying endeavor. It requires patience, precision, and a touch of artistry. With this comprehensive guide, you’re equipped to transform your small bathroom into a haven of style and functionality. Remember to prioritize safety, utilize quality materials, and enjoy the journey. The end result – a gleaming, spacious bathroom that reflects your unique taste – will be a testament to your dedication and hard work.

:max_bytes(150000):strip_icc()/OrangeGloEverydayHardwoodFloorCleaner22oz-5a95a4dd04d1cf0037cbd59c.jpeg?w=740&resize=740,414&ssl=1)


