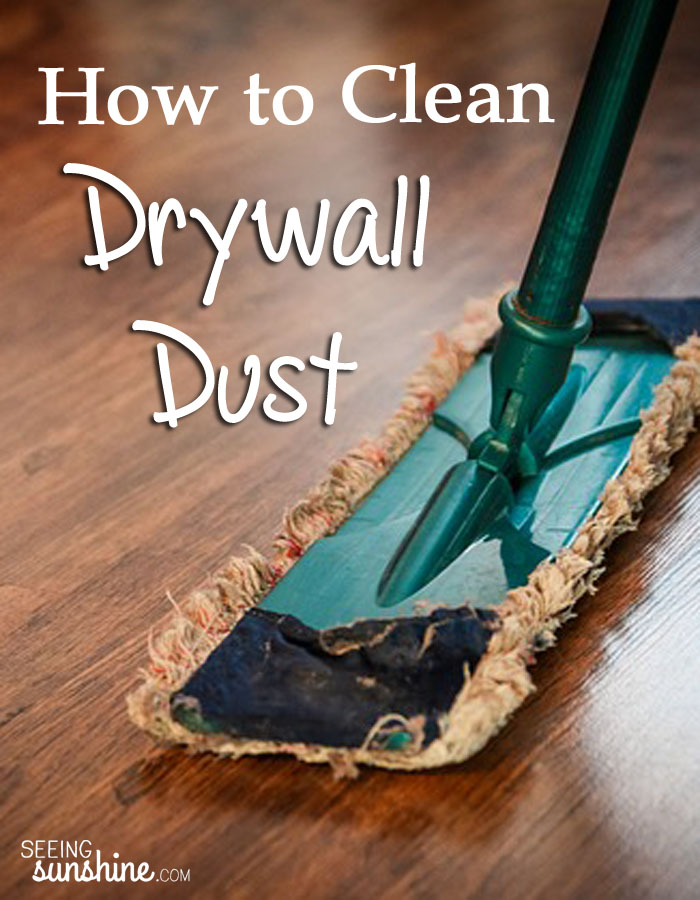
Drywall dust—that fine, white powder that seems to permeate every crevice of your home during a renovation—can be a major headache. It clings to everything, especially your beautiful hardwood floors. While it might seem like a daunting task, getting rid of drywall dust from hardwood floors doesn’t have to be a chore. With the right tools and techniques, you can reclaim the gleaming finish of your floor and restore your home to its former glory.

Image: cleaneasyway.com
This comprehensive guide will walk you through the best methods to tackle drywall dust on hardwood floors, providing you with practical tips and expert advice. From the initial clean-up to preventing future dust invasions, we’ll cover everything you need to know to conquer this common renovation challenge. So, grab your cleaning supplies and get ready to make your floors dust-free, once again.
Initial Clean-Up: Tackling the Dust Storm
1. The Power of Vacuuming: A First Line of Defense
Your trusty vacuum cleaner is your first ally in this battle. A vacuum with a HEPA (High-Efficiency Particulate Air) filter is your best bet, as it can effectively trap even the finest drywall dust particles. Before attacking the floors, use a dust brush or a soft-bristled broom to sweep away larger debris and loose dust. This will prevent clogging your vacuum cleaner and ensure a more efficient clean-up.
2. The Wet Mop Approach: For Deep Cleaning
For a deeper level of cleaning, a wet mop can be your next weapon of choice. However, remember that excessive moisture can damage hardwood floors, so moderation is key. Dampen your mop with warm water and a mild cleaning solution specifically designed for hardwood floors. Avoid using harsh cleaners or bleach, as they can strip the finish and dull the floors’ shine. Always wring out the mop thoroughly before cleaning to prevent water damage.

Image: www.pinterest.com
3. Tackling Stubborn Dust with a Microfiber Cloth
Stubborn dust that stubbornly refuses to budge requires a more hands-on approach. A microfiber cloth, slightly dampened with water, can easily tackle these stubborn residues. Alternatively, you can use a damp cloth with a specialized hardwood floor cleaner. For particularly sticky dust, a gentle spritz of white vinegar on the cloth can work wonders. Remember to work in small sections and apply gentle pressure to avoid scratching the delicate floor finish.
The Art of Prevention: Keeping the Dust at Bay
While cleaning up drywall dust is essential, preventing it from accumulating in the first place is equally crucial. The following strategies can help keep your hardwood floors dust-free during and after renovation:
1. Protect Your Floors with Drop Cloths and Plastic Sheeting
Before the renovation begins, cover your hardwood floors generously with drop cloths or plastic sheeting. This barrier will prevent dust from settling onto the wood. Ensure the drop cloths are securely taped down to avoid them shifting and allowing dust to seep underneath. Invest in heavy-duty drop cloths that can withstand the weight of tools and materials.
2. Use Dust Collectors and Air Filtration
Dust collectors and air filtration systems are your secret weapons in the fight against dust. For larger projects, a portable air filtration system can effectively trap dust particles and improve air quality. Ensure the air filtration system uses HEPA filters for optimal dust removal.
3. Wet Down the Work Area
A simple yet effective tactic is to keep the work area consistently damp during renovations. Spraying the walls with a fine mist of water before and after sanding can help bind the dust particles and make clean-up a breeze. If you’re using a power sander, consider investing in a dust collection system attached to the sander.
Post-Renovation: The Final Touches
Once the renovation is complete and the dust settles (pun intended!), you’ll want to give your hardwood floors a final polishing to truly bring back their luster. Here are some tips to ensure your floors are sparkling clean and dust-free:
1. Vacuum Again: A Final Sweep
Give your floors a final vacuuming using your HEPA filter vacuum cleaner. This will remove any remaining dust particles clinging to the surface. Focus on the corners and edges, where dust often accumulates.
2. Mop or Polish: The Finishing Touch
You can choose either mopping or polishing to restore your floors’ shine. For a deeper clean, use a hardwood floor cleaner mixed with warm water in your mop. Alternatively, you can use a dedicated hardwood floor polish for a protective and glossy finish. Always follow the instructions on the product label for best results.
3. Clean Air: Keeping Your Home Dust-Free
Finally, invest in a high-quality air filter for your home to ensure long-term dust management. Regularly change the filters to ensure they capture dust particles efficiently. Open windows for ventilation, but remember to keep the doors and windows closed during sanding or other dust-generating activities.
Best Way To Get Drywall Dust Off Hardwood Floors
Conclusion: A Dust-Free Future Awaits
Conquering drywall dust on hardwood floors may seem like a daunting task, but with the right techniques and tools, it can be a manageable process. From initial cleaning to prevention and post-renovation care, this guide has provided you with practical strategies to keep your floors dust-free and maintain their beauty. Remember, prevention is key, so take proactive steps to minimize dust generation during and after your renovation project. By following these tips and strategies, you can confidently enjoy a clean, dust-free home, even after a major renovation.

:max_bytes(150000):strip_icc()/OrangeGloEverydayHardwoodFloorCleaner22oz-5a95a4dd04d1cf0037cbd59c.jpeg?w=740&resize=740,414&ssl=1)


